Step 1: Open the Switch Control menu
- During onboarding: The Mac app will show a dedicated page — click Open Switch Control Menu.
- After onboarding: In the Mac app, click Open Menu in the bottom left, then click Open Switch Control Menu.
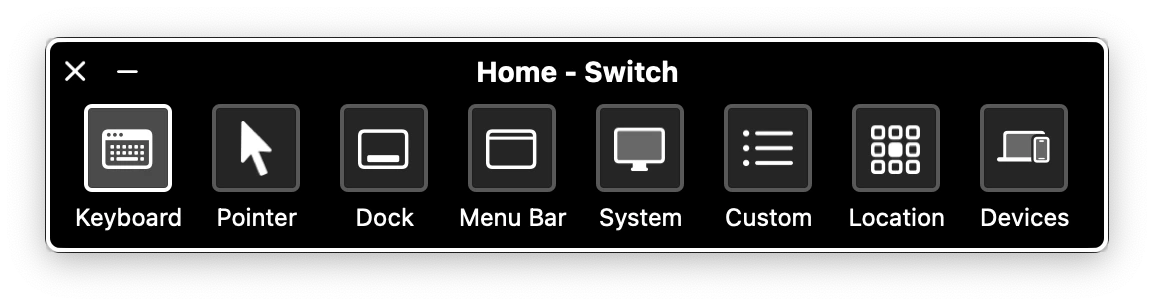
Step 2: Connect to your iPhone
- Click Devices in the Switch Control bar.
See screenshot
See screenshot
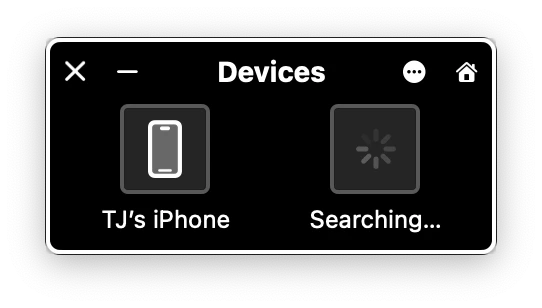
- Select your iPhone from the device list.
See screenshot
See screenshot
- Click Connect.
See screenshot
See screenshot
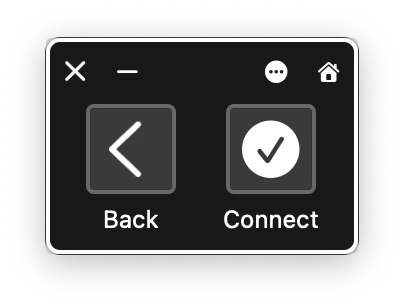
Your iPhone must be plugged in via USB for this step. Wi-Fi, Bluetooth, and iCloud are needed later for pairing but not for the initial connection.
Troubleshooting
Switch Control bar didn't appear
Switch Control bar didn't appear
Make sure Switch Control is enabled on your Mac. Go to System Settings > Accessibility > Switch Control and verify it’s turned on with the correct switches configured.
iPhone not showing in Devices list
iPhone not showing in Devices list
Make sure your iPhone is still plugged in via USB and that Switch Control is enabled on the phone. Try unplugging and replugging the cable.
Connection drops immediately
Connection drops immediately
Restart the Mac app and try again. If the issue persists, check that both devices have Switch Control enabled and that no other Switch Control sessions are active.